I remember leaning over my handlebars halfway through a 20-mile charity ride, shaking my hands like I’d just touched a live electric wire. My fingers weren’t just ‘falling asleep’—they felt like dead weights hanging from my wrists. I couldn’t even feel the brake levers. It was terrifying, and frankly, it made me want to throw the whole bike into a ditch. I was convinced I needed surgery or at least a $5,000 carbon frame. It turns out, the culprit was just a few millimeters of metal sitting right under me. Today, I’m going to show you how to stop that tingling for good by mastering your bike’s geometry.
Your Saddle is Secretly Sabotaging Your Hands
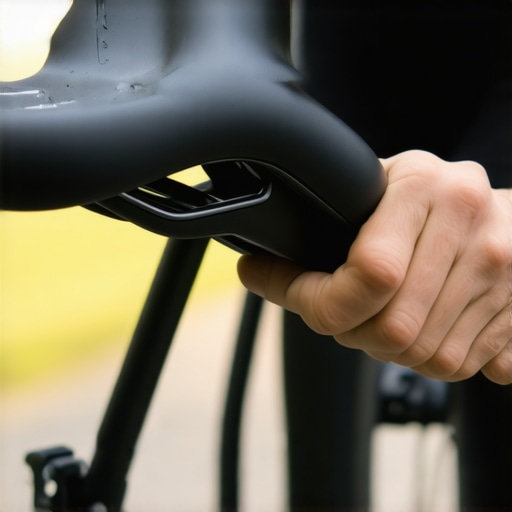
For years, I made the classic rookie mistake of tilting the nose of my seat down. I thought I was being smart, trying to relieve pressure on my ‘sensitive bits.’ In reality, I was just creating a slippery slide that forced my entire body weight onto my palms. This puts immense pressure on the ulnar nerve, and while you might think the problem is in your gloves, it’s often a case of why your wrist pain is actually coming from your neck and upper back alignment. When your seat is off, your core stops supporting you, and your hands pay the price. Have you ever found yourself shaking your hands out every five minutes just to finish a ride? [image] If so, you aren’t alone. In fact, a study by the International Journal of Sports Medicine highlights that improper saddle positioning is a primary driver of upper extremity compression syndromes in cyclists. By learning how to fix your grip to save your neck and shoulders through better seating, you can finally enjoy the scenery instead of counting down the miles until you can get off the bike.
Do I really need to buy a professional bike fit?
It’s a valid question. Those high-end fitting sessions can cost more than some entry-level bikes. While they have their place, most riders can solve their discomfort by implementing posture correction secrets that transform back pain outcomes right in their own garage. You don’t need a laser level to see if your weight is balanced. You just need to understand how your seat height, tilt, and fore-aft position create a chain reaction through your spine. If you’ve been struggling, don’t ignore it—using a nerve glide that calms tingling in your fingers can help in the short term, but we need to fix the source. Let’s dive into the first check you need to perform before you clip in again.
Flatten Your Saddle to Save Your Wrists
Think of your saddle like a shelf. If the shelf is tilted toward the floor, everything you put on it—including your torso—will start to slide off. Your body instinctively fights this by bracing with your arms, turning your handlebars into weight-bearing pillars rather than steering tools. By the time you’ve ridden five miles, your triceps and palms are doing the heavy lifting usually reserved for your core. I spent a whole summer with my seat angled ‘just a tiny bit’ down, thinking it was saving my lower back. Instead, I developed a burning sensation that felt exactly like the hidden cause of that dull ache between your shoulder blades. To fix it, grab a spirit level. Set it across the seat. If it’s not perfectly horizontal, you’re pushing your weight into your median and ulnar nerves. This simple reset is one of those simple adjustments to relieve back pain that people overlook because it costs zero dollars.
The Secret of the Fore-Aft Slide
Once your seat is level, check how far forward or back it sits on the rails. If you’re too far back, you’re overreaching, which rounds your shoulders and pinches the nerves in your neck. This is often why your wrist pain is actually coming from your neck. Use the ‘Plumb Line’ method: sit on the bike with your pedals at the 3 and 9 o’clock positions. A string dropped from the bony part just below your kneecap should fall directly through the center of the pedal axle. This ensures your weight is centered over the bottom bracket. 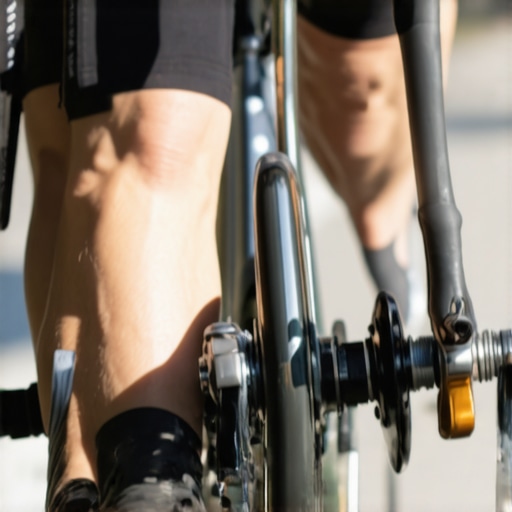
Adjust Your Reach Without Buying New Parts
You don’t always need a new stem; sometimes you just need to rotate your handlebars. If the ‘hoods’—the rubber parts you grab—are angled too low, your wrists are cocked at an unnatural angle. This creates a kink in the garden hose of your nervous system, restricting blood flow and signal transmission to your fingertips. I remember a ride in the mountains where I had to stop every few miles because my pinky fingers were dead. I realized my bars were rotated too far forward, forcing a hunch that felt like why your phone is making your shoulders permanently rounded. By rotating the bars up just five degrees, I opened my chest and allowed my weight to settle into my sit-bones. If you still feel stiff, implementing top strategies for moving without pain will help ensure your joints aren’t the limiting factor.
Balance Your Stack Height
Finally, look at your ‘stack’—the height of your bars relative to your seat. If your bars are significantly lower than your saddle, you’re in an aggressive position that most spines can’t handle long-term. This compression is why many riders need posture correction secrets that transform back pain outcomes. Lifting the bars even one centimeter can take immense pressure off your cervical spine. You aren’t losing speed; you’re gaining the endurance to actually finish your ride without pain. When your spine is neutral, your core can finally engage, which is the deep core connection that stops your spine from shear stress while you pedal.We often treat our bodies like a collection of pulleys and levers, but it’s actually more like a highly sensitive alarm system. One of the biggest myths in the cycling community is that you need to be ‘yoga-flexible’ to avoid injury. In reality, over-stretching can be just as damaging as being stiff. I’ve seen countless riders try to fix their lower back issues by aggressively lengthening their legs, but why you should stop stretching your hamstrings for back relief is a lesson usually learned the hard way. When your hamstrings feel like steel cables, your nervous system might be tightening them as a protective mechanism for a vulnerable lumbar disc. If you force them to relax, you remove the ’emergency brake’ and invite a world of hurt. 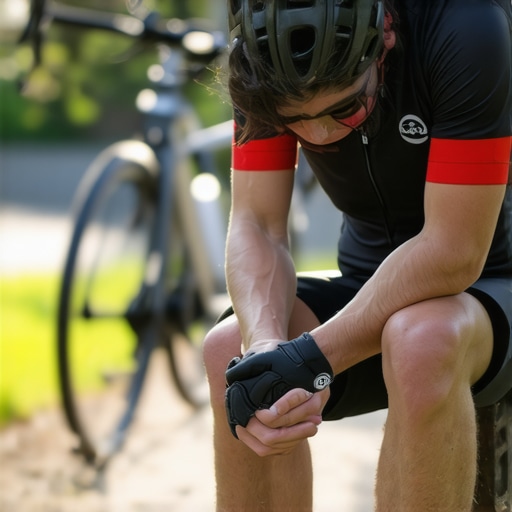
The Bracing Trap That Actually Locks Your Spine
Another ‘oops’ factor I see with advanced riders is the concept of core bracing. We’re often told to ‘pull the belly button to the spine,’ but if you do that while pedaling, you’re creating internal pressure that actually grinds your vertebrae together. Instead of fluid movement, you’ve turned your torso into a rigid block that can’t absorb road vibration. Mastering the deep core connection that stops your spine from shear stress is about subtle engagement and intra-abdominal pressure, not a death-grip on your abdominal muscles. If you’re constantly ‘sucking it in,’ you’re likely inhibiting your diaphragm, which is how your breathing pattern keeps your back muscles guarded throughout the entire ride.
Can you actually stretch your way out of a nerve impingement?
The short answer is no—and trying to do so often flares the nerve further. Nerves don’t like to be stretched like muscles; they like to be ‘glided.’ This is a critical nuance most beginners and even intermediate cyclists miss. According to research published in the Journal of Orthopaedic & Sports Physical Therapy, neural mobilization is significantly more effective than static stretching for reducing radiating pain and improving mobility. This is why I always recommend the nerve glide that calms tingling in your fingers rather than just pulling on your wrist or hanging from a bar. Sometimes, the best ‘adjustment’ isn’t a physical crack, but a change in how you perceive tension and load. It’s about recognizing how an adjustment restores more than just range of motion—it resets the communication between your brain and your bike. Have you ever fallen into this trap of over-stretching a painful area only to have it feel worse the next day? Let me know in the comments below, because I’ve definitely been there. To keep your progress going, don’t forget to check out these posture correction secrets that transform back pain outcomes for a more holistic approach to your cycling health.Maintaining a pain-free ride isn’t a one-and-done event; it’s an ongoing dialogue between your bike and your nervous system. Personally, I stopped guessing and started using a digital inclinometer to measure my saddle tilt to the decimal point. Why? Because a half-degree shift is the difference between a neutral pelvis and why your pelvis tilts forward during a difficult climb. I also carry a small preset torque wrench in my seat bag. If your seatpost slips even three millimeters during a rough gravel section, you’ll start overextending your stride, which is often the real reason your sciatica flares after a long weekend of riding. Having these tools ensures that when I find a ‘sweet spot,’ I can actually keep it there without the risk of parts migrating mid-ride.
How do I maintain my bike fit over time?
Consistency is more important than perfection. Every three months, I perform a ‘hardware audit’ on both my bike and my body. I use the Bikefit System guidelines developed by Paul Swift, which emphasize that your foot-pedal interface dictates the stability of everything up the kinetic chain. If your cleats are worn out or angled incorrectly, your knees will dive inward, causing how your foot arch collapse is creating a hip impingement. Don’t wait for the pain to return; check your cleat alignment and saddle height regularly to ensure you aren’t slowly drifting back into old, compensational patterns. 
Your next bibs might track your spine
In the near future, I expect we’ll see a massive shift toward real-time pressure mapping integrated directly into our cycling bibs and shoes. Imagine getting a haptic buzz on your thigh the moment your posture begins to slump or your weight shifts unevenly—that’s where this technology is heading. Until then, you need to rely on active self-checks and daily spinal alignments for lasting relief. It’s about building a ‘maintenance ritual’ that includes daily adjustments to alleviate back pain before you even put on your helmet. I’ve found that spending just five minutes on a firm roller before a ride helps me ‘sense’ where my spine is stiff, allowing me to adjust my riding style before I’m ten miles deep into a workout.
Scale your mileage by removing mechanical friction
When I first started focusing on these tiny adjustments, I was worried I’d become a tinkerer who never actually rode. The opposite happened. By mastering my posture correction secrets that transform back pain outcomes, I went from dreading 20-mile rides to comfortably finishing century rides. This is how you scale your performance. You don’t just ‘push through’ the pain; you remove the mechanical friction that causes it. If you’re serious about long-term results, you should also look at effective posture tips for 2025 to see how modern ergonomic science is catching up with what mountain bikers have known for years. My best advice for right now? Grab a torque wrench today and double-check your saddle bolts; a stable platform is the absolute foundation of a healthy spine.
Lessons Learned from Thousands of Painful Miles
Looking back at the years I spent suffering through numb fingers, the biggest takeaway wasn’t about the bike—it was about listening to my body’s warning signs early. First, stop believing that “more is better.” I used to buy the thickest, gel-padded gloves I could find, only to realize they were putting even more pressure on my carpal tunnel by narrowing the space in my grip. Second, your hands are usually the messengers, not the source of the problem. If you feel that persistent buzz, you should investigate the neck-to-wrist connection before you go out and buy new handlebars. Third, a tiny 1-degree change in saddle tilt can be more effective for your nerves than a $200 pair of boutique cycling shoes. Finally, don’t forget that implementing gentle nerve glides during your mid-ride coffee break can reset the neural tension that mechanical road vibration builds up. [image]
Gear That Actually Earned a Spot in My Saddle Bag
I don’t believe in buying gear for the sake of it, but three specific tools changed my relationship with long-distance riding. I always carry a preset torque wrench; it is the only way to ensure my seat post doesn’t slip and throw my holistic posture habits into a tailspin. I also swear by a digital inclinometer app on my phone for checking saddle level on the fly if I feel my weight shifting forward. Lastly, I’ve integrated advanced mobility strategies into my pre-ride routine, using a simple lacrosse ball to release tension in my forearms. These aren’t just gadgets; they are the gatekeepers of a pain-free, professional-level experience.
Your Best Ride is Still Ahead of You
The road shouldn’t be a place of endurance through suffering, but a place of total freedom. By taking control of your bike’s geometry and respecting your own anatomy, you are not just fixing a tingle—you are extending your life as a cyclist. It takes a little patience to find that perfect balance, but once you do, the bike seemingly disappears beneath you. I hope these effective posture tips for 2025 help you find that same flow state I finally discovered. Have you ever tried to solve hand numbness by buying thicker bar tape, only to find the real culprit was actually your seat height? Let me know in the comments below!